DIY Interior Wall Painting Tips & Techniques
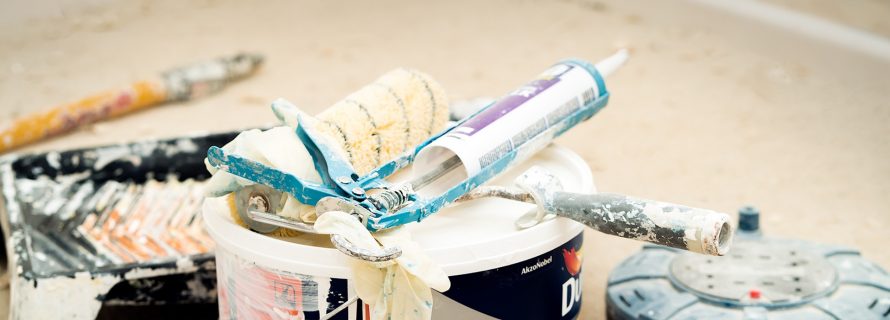
Painting the interior of a house requires some skills and experience like professionals. Some people prefer painting their house themselves in order to save money or gain some experience. However, they need to gain some knowledge and use the right tools to paint it with precision.
Homeowners who wish to paint their house themselves should do some research about the paints, painting tools, and painting techniques. Professional painters use some techniques that help them to deliver high-quality paintwork that lasts longer.
If the walls are painted with the right skills and high-quality paint, homeowners don’t need to repaint before 4 to 6 years. Let us explore some interior wall painting tips that only professionals know.
Prep Work
Prep work is the process of preparing the surfaces for paintwork, whether they are walls, doors, or windows. Any imperfections like holes, cracks, and blisters on the surfaces prevent the paint from sticking to the surfaces and make it wear out quickly. A primary difference between a painting by homeowners and professionals is that professionals perform the prep work with perfection.
It is essential to prepare the walls before coating them with any paint. Here are the steps to prepare the walls for a perfectly smooth paint finish. Greasy stains may also require washing with soap and then rinsing with clean water. Otherwise, wipe the walls quickly with a damp cloth so that the paint has a clean, dust-free surface to adhere to.
Scrape the surfaces
The first step in preparation work is to scrape the surfaces with a scraper tool. Scraping the surfaces removes all the loose pieces of paint. There are two types of scraping tools, hand tools, and electric scrapers. Using a hand scraping tool can take time. If you want to do it faster, you can use electric scraping tools that come with a round scraping blade that removes the worn paint from a wall within minutes.
Sanding the surfaces
After removing the major scrapes and worn paint, it is also necessary to smoothen the surfaces to prepare them for a uniform finish. You can perform the sanding work with pieces of sandpaper or using a sanding machine. The sanding machine works faster than the sanding paper. So, if you want to finish the work faster, use a sanding machine instead of sandpapers.
Washing the walls
Once you complete the scraping and sanding process, you need to wash the walls to ensure a clean surface for painting. Washing removes the layers of dust and dirt from the surfaces. It is best to use a garden hose or pressure washer to wash the walls if you have removed all the stuff from your rooms. However, if you have not removed all the stuff like furniture or appliances, you can wipe the walls with a damp sponge.
Buy good quality brushes
Always buy high-quality paints and brushes. Cheap brushes are not good in terms of quality and the work they perform. Buy good quality brushes and rollers, clean them well, and they will last a lifetime. A cheap plastic brush will make the paint look like you’ve smeared it on the wall with a rake.
The bristles of cheap brushes may fall into the paint. Buy Wooster or Purdy brushes, which cost a little more than standard brushes but are much more durable and apply the paint very evenly. A good quality, 2½ inch wide, angled brush is an excellent all-round brush. It is versatile and you can wash and re-use it until the bristles wear out.
Buy good quality paint
It is also important that you buy the best paint you can afford. It’s easy to apply, provides the best coverage and lasts a long time. What’s more, you can wash off the dirty fingerprints without removing the paint. And the whole paintwork will be faster and easier and look better in the end.
Choose the right color
Start by looking for the characteristics of a common color: Do you want a warm or cool shade? Neutral or saturated shades? If you have existing furniture or art, you can also consider how to shade them. Once you find what you are looking for, choose a shade and take a sample. Try the shades to see their faces in the room at different times of the day.
Many painting companies also have tools on their website that allow you to upload photos of your location and view different colors on the walls. But the color may be different from the actual situation, so you should still try it in the space.
Mix the cans in a bucket
It is important to mix the cans of the same color in a bucket to maintain the uniformity of shade. Painting directly from the cans can lead to different shades in different areas. Mix all the cans in a bucket and stir them with a stick to get a smooth and uniform finish.
Maintain a wet edge to avoid overlapping marks
Always keep a wet edge while painting and paint away from the wet edge. The glossier the color, the more likely it is that the overlapping marks will appear. Especially, semi-gloss and glossy colors require great care to keep the wet edges. In flat or matte colors, however, there is almost no risk of creating overlapping marks.
Paint the trim first
Always start by painting the trim first and then the ceiling, followed by painting the walls. While painting the walls, make sure to use the brush or roller uniformly to create a smooth finish. First, finish one wall before beginning to paint the next.
Final Words
These are some DIY tips to paint any house. It is important to research and gain some knowledge before going DIY to paint your house. You can watch some videos of professional painters to learn the right skills and techniques. Following the above tips can help homeowners to paint their house with the right tools, techniques, and precision.
About The Author: Stephan Charles is a content writer at AR Painting Solutions. He enjoys writing on various topics mainly associated with Home Improvement, Technology, Health and Gadgets. His famous articles are on the topic of Home Improvement, Technology and many more.
Image by bidvine from Pixabay
- Additions and New Construction
- All Exteriors
- Alterations
- Basements
- Bathrooms
- Customer Service
- Customer Stories
- Decks
- Design & Planning Show
- DIY
- Doors
- Educational Resources
- Extreme Makeover Home Edition
- Fashion Show
- General Remodeling
- Green Living
- Handyman Home Services
- Home Decor
- Home Entertainment
- Home Improvement
- Home Improvements
- How to Tips
- In The Community
- Kitchens
- Off-the-Wall Remodeling Stories
- Remodeling
- Resources
- Roofing
- Siding
- Social Media
- Sunrooms
- Tips & Tricks
- Trends
- Windows
