Steps to Building a Home Theater
Once considered an extravagance of the rich featured on reality shows, such as MTV Cribs, the development of affordable technologies and materials has allowed us mortals to enjoy a true theater experience in the comfort of our homes. If a theater room is one of your home projects for this year, make sure you dot all the i’s before you start.
Perfect location
Ideally, a room that is to become a home theater needs to be 20 feet long and 13 feet wide, preferably isolated from the rest of the house. All the entertainment benefits aside, it shouldn’t interrupt the rest of the home. If you are building a theater wing within the family room or making your basement into a home theater, determine the number of chairs you need, and the room behind for a countertop, bar, storage, etc. If you’re looking to repurpose one of the rooms upstairs, avoid square shaped rooms, as that’s really bad for the acoustics. In any case, you can always rely on acoustic panels, since they can enhance the sound distribution and make up for any of the room’s imperfections.
Sound insulation and framing
You need to build a soundproof shell to your theater, which is a process similar to adding home insulation. The number one concern is to insulate the room acoustically. You can use R30 rating for the floor, ceiling and exterior walls, while loosely packed R11 on interior walls will prevent the movie sound from resonating throughout the rest of your home. Still, after you pre-wire the room, you need additional sound barriers, as the wall insulation won’t block the sound completely.
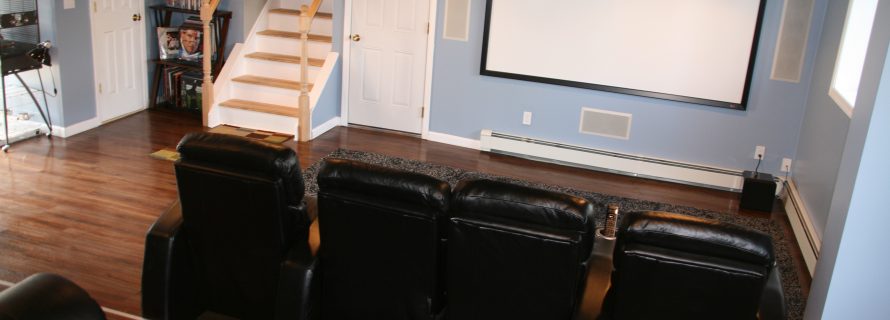
Choice of furniture
Comfortable furniture is an important aspect of a home theater and many homeowners mistakenly purchase it at the near end of the project, using the funds they’ve got left. Instead, make sure to start looking early on for great deals on quality loungers and armchairs for the authentic high-class theater experience. If the dimension of the room allows for it, consider using a pre-built platform to elevate the back row for better viewing. Thick drapes such as the ones used to cover the screen in real movie theaters do not only improve the desired feel and look, but also block out the outside light and improve the acoustics.
Pre-wire for sound
A rounded home theatre needs a 7.1 surround sound system including one subwoofer and seven channel speakers – one on both sides, center, two side surrounds and two rear surrounds. In order to pre-wire a 7.1 system, you need to know where each speaker goes. The central channel speaker goes just above or below the screen, while the side speakers should be placed on either side of the screen at an ear height. The side surrounds go on the side walls just behind the main row of seating, and the rear surrounds on the back wall. Now you need a place for the hub that will connect your receiver and other A/V components. For aesthetic purposes, you can hide it in a cabinet inside the theater room or even in a closet outside. The cables that you run from the hub to each speaker’s location need to be at least 16-gauge, four conductors (16-4) for side and rear surrounds, while you need 12- or 14-gauge cables for the center and left/right speakers.
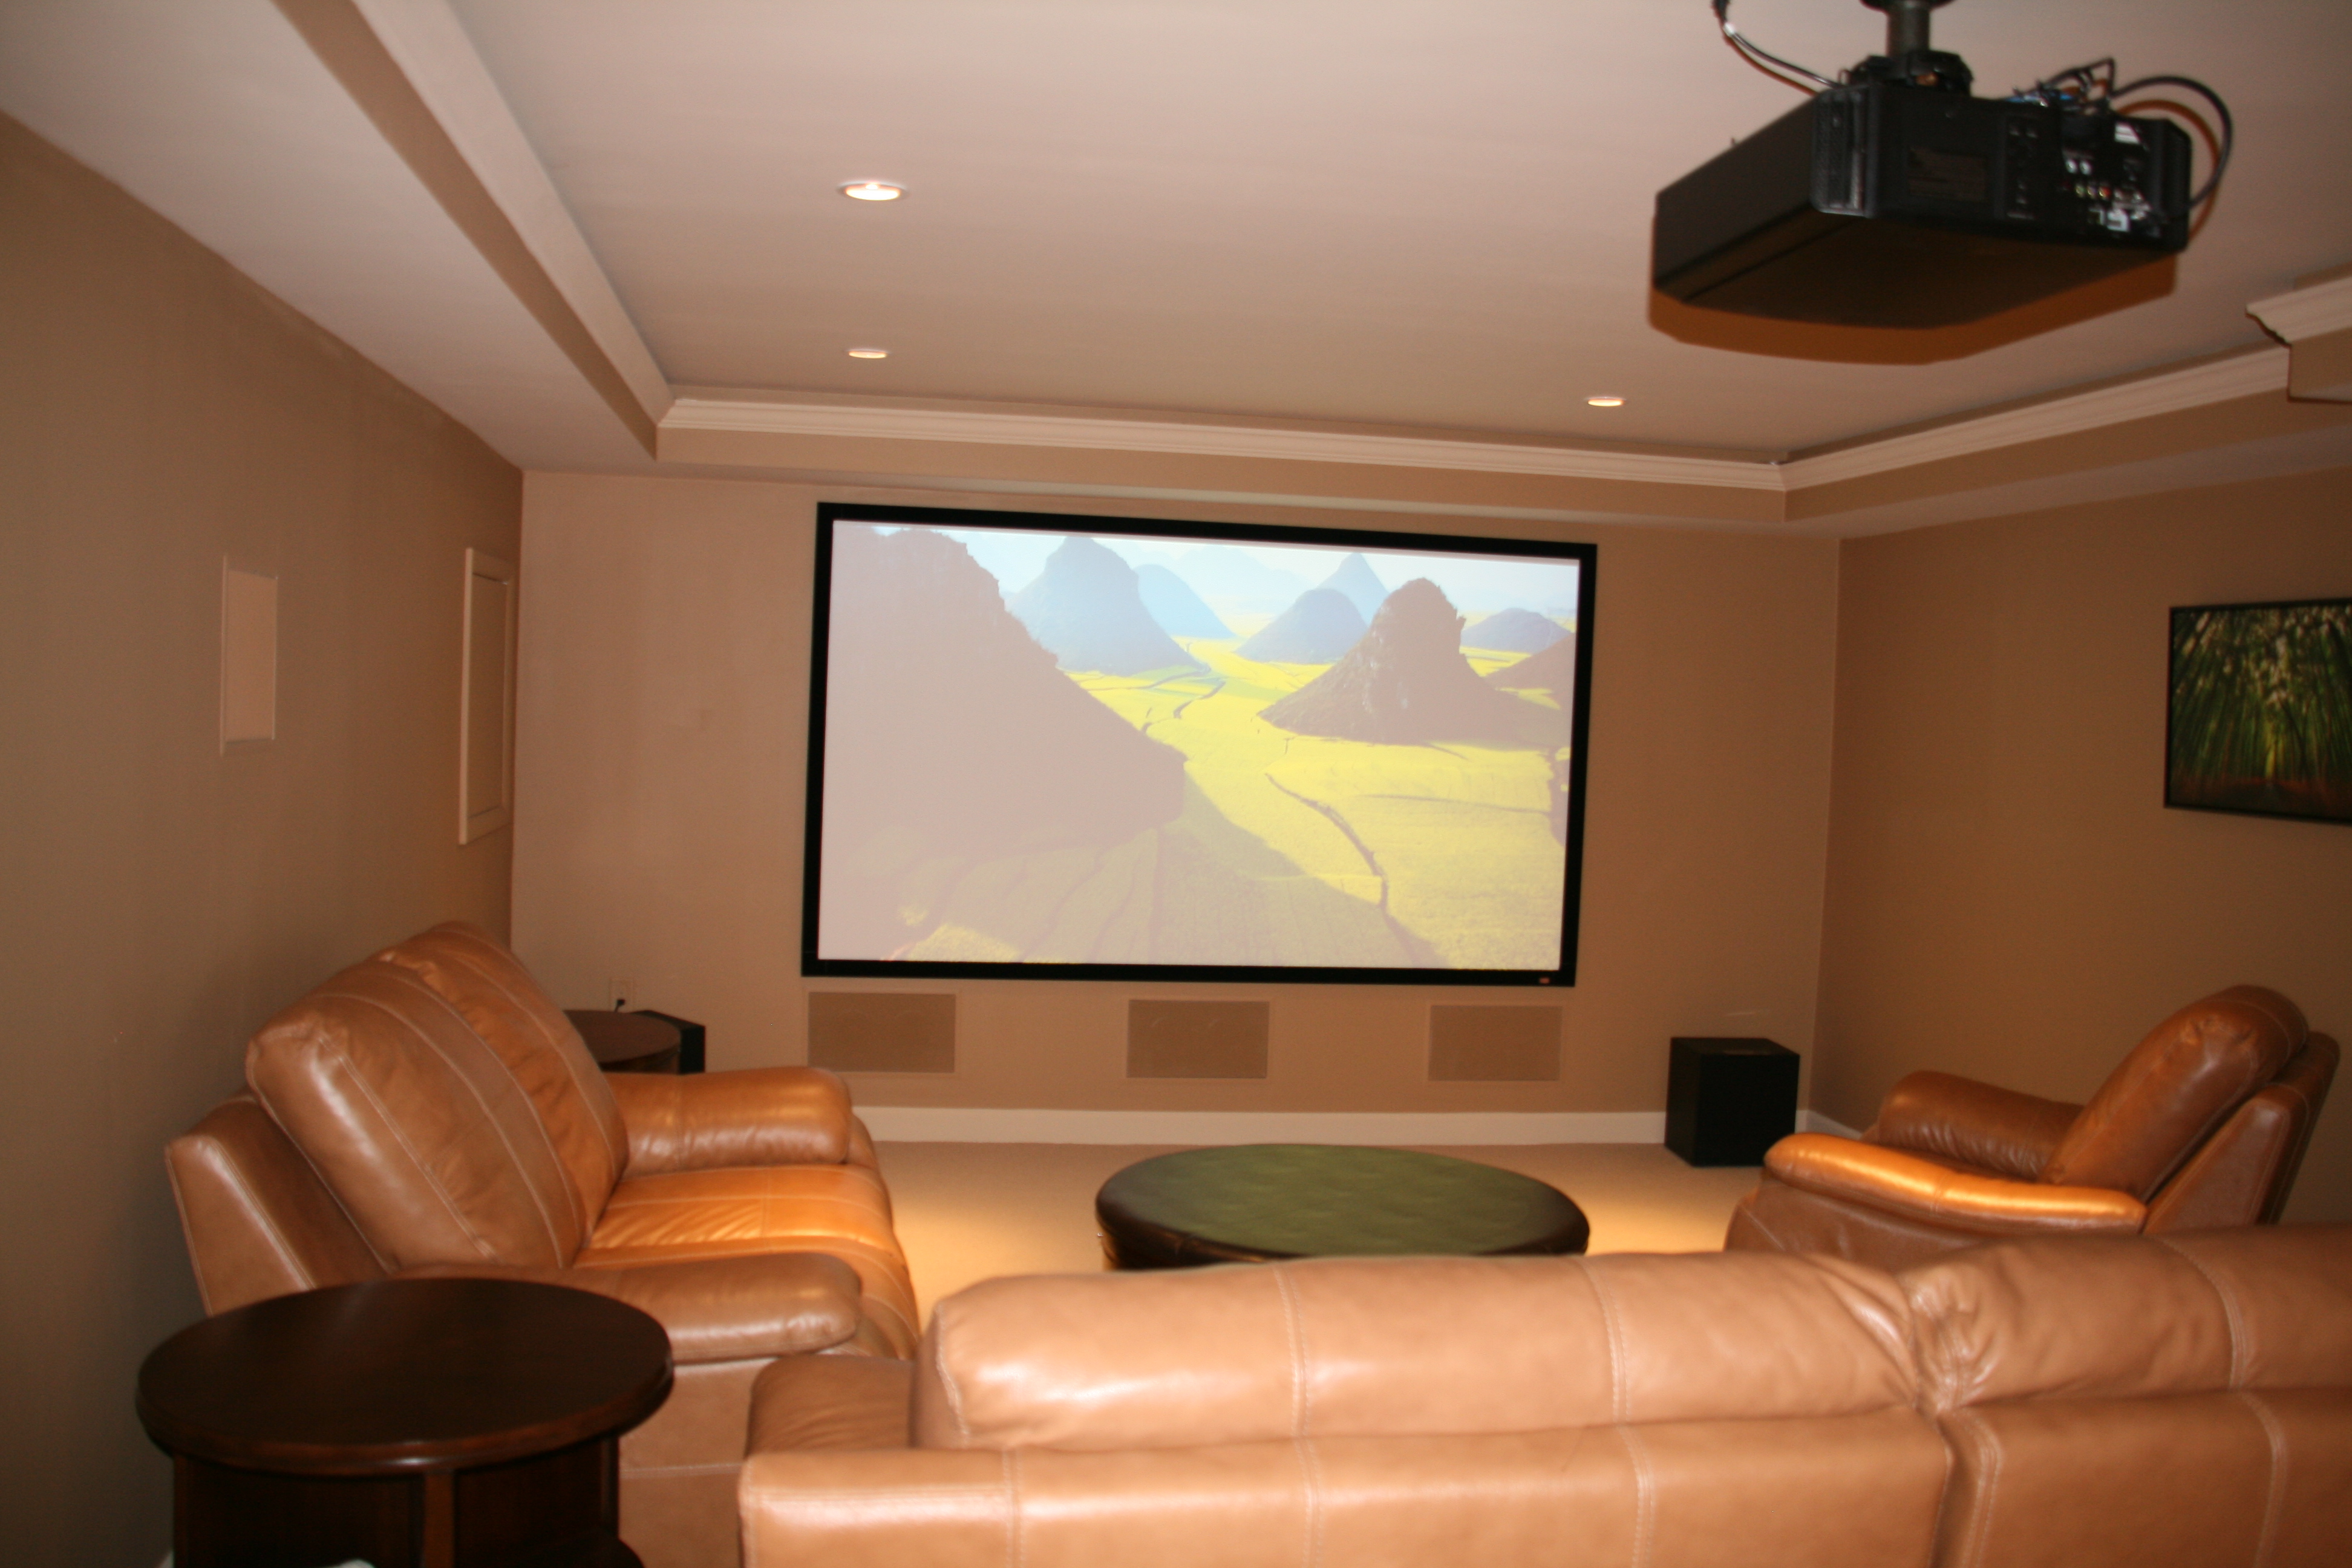
Pre-wire for video
If you want a realistic, large-screen theater experience, you need a video projector system. A projector system needs two cables: an HDMI cable for hi-definition videos and a CAT5 control wire that allows accessing the projector with an RF remote. Extend one of these cables from the ceiling at the rear, where the projector will be fixed. The other end goes to your equipment hub. To maximize the potential of your entertainment room, make sure you pre-wire the hub with your smart TV package and high-speed internet. On the other hand, if your budget limits you to a TV screen, check out this guide for buying an optimal home theater TV.
The choice of lighting
Although lights always go off before a movie starts, you need appropriate lighting that creates a true movie theatre atmosphere. One of the best choices is recessed lighting in the ceiling, complemented with pairs of sconces along the side walls. You’ll need basic electric wiring with junction boxes for each of these locations. Connect the lighting to an RF dimmer, so you can control the brightness level with the same remote you’ll be using for the projector. There is even a smart option that sets lights to auto-dim whenever you press play.
Additional sound barriers
When all pre-wiring is done, you need to install drywall and additional sound insulation. When installing the drywall, make sure to leave holes and incisions through which you’ll route your audio, video and electrical cables. For soundproofing, you can use ordinary drywall lined with sound-muffling materials, such as high-density vinyl or go with a specialty drywall, such as QuietRock Soundproof Drywall. Its excellent efficiency comes at a price though, as it costs eight times as much as regular drywall.
When everything is done and you bring in drinks and snacks for the premiere watching, you’ll be surprised how the sound system, acoustic panels and the shape of the room work together in bringing you the sound experience that is impossible to achieve in a regular sitting room.
About The Author: Will Sandford is a Sydney based wood architect, blogger and contributor on interior design and ecology blogs. Besides that, he is also interested in home improvement combined with green technology. In his spare time, Will enjoys surfing and rock climbing. He is also a regular contributor to SmoothDecorator. Connect with him on Twitter.
- Additions and New Construction
- All Exteriors
- Alterations
- Basements
- Bathrooms
- Customer Service
- Customer Stories
- Decks
- Design & Planning Show
- DIY
- Doors
- Educational Resources
- Extreme Makeover Home Edition
- Fashion Show
- General Remodeling
- Green Living
- Handyman Home Services
- Home Decor
- Home Entertainment
- Home Improvement
- Home Improvements
- How to Tips
- In The Community
- Kitchens
- Off-the-Wall Remodeling Stories
- Remodeling
- Resources
- Roofing
- Siding
- Social Media
- Sunrooms
- Tips & Tricks
- Trends
- Windows
